Rats or mice in your roof? What to do
How to confirm what you have, the three things to do in order (find the entry points, bait and trap, then seal), and when to call a pro.
The short answer
Rodents in the roof are an autumn-and-winter problem in most of Australia. Nights cool, the roof void stays warm, and a small gap is enough to get them in. You need to do three things, in order: find the entry points, bait and trap the population that’s already inside, then seal up after the population is gone. Skipping any one of these is why people DIY for months without resolving it.
How to tell what species you have
Three common species cause Australian roof problems. The treatment is broadly similar but knowing what you’re dealing with helps:
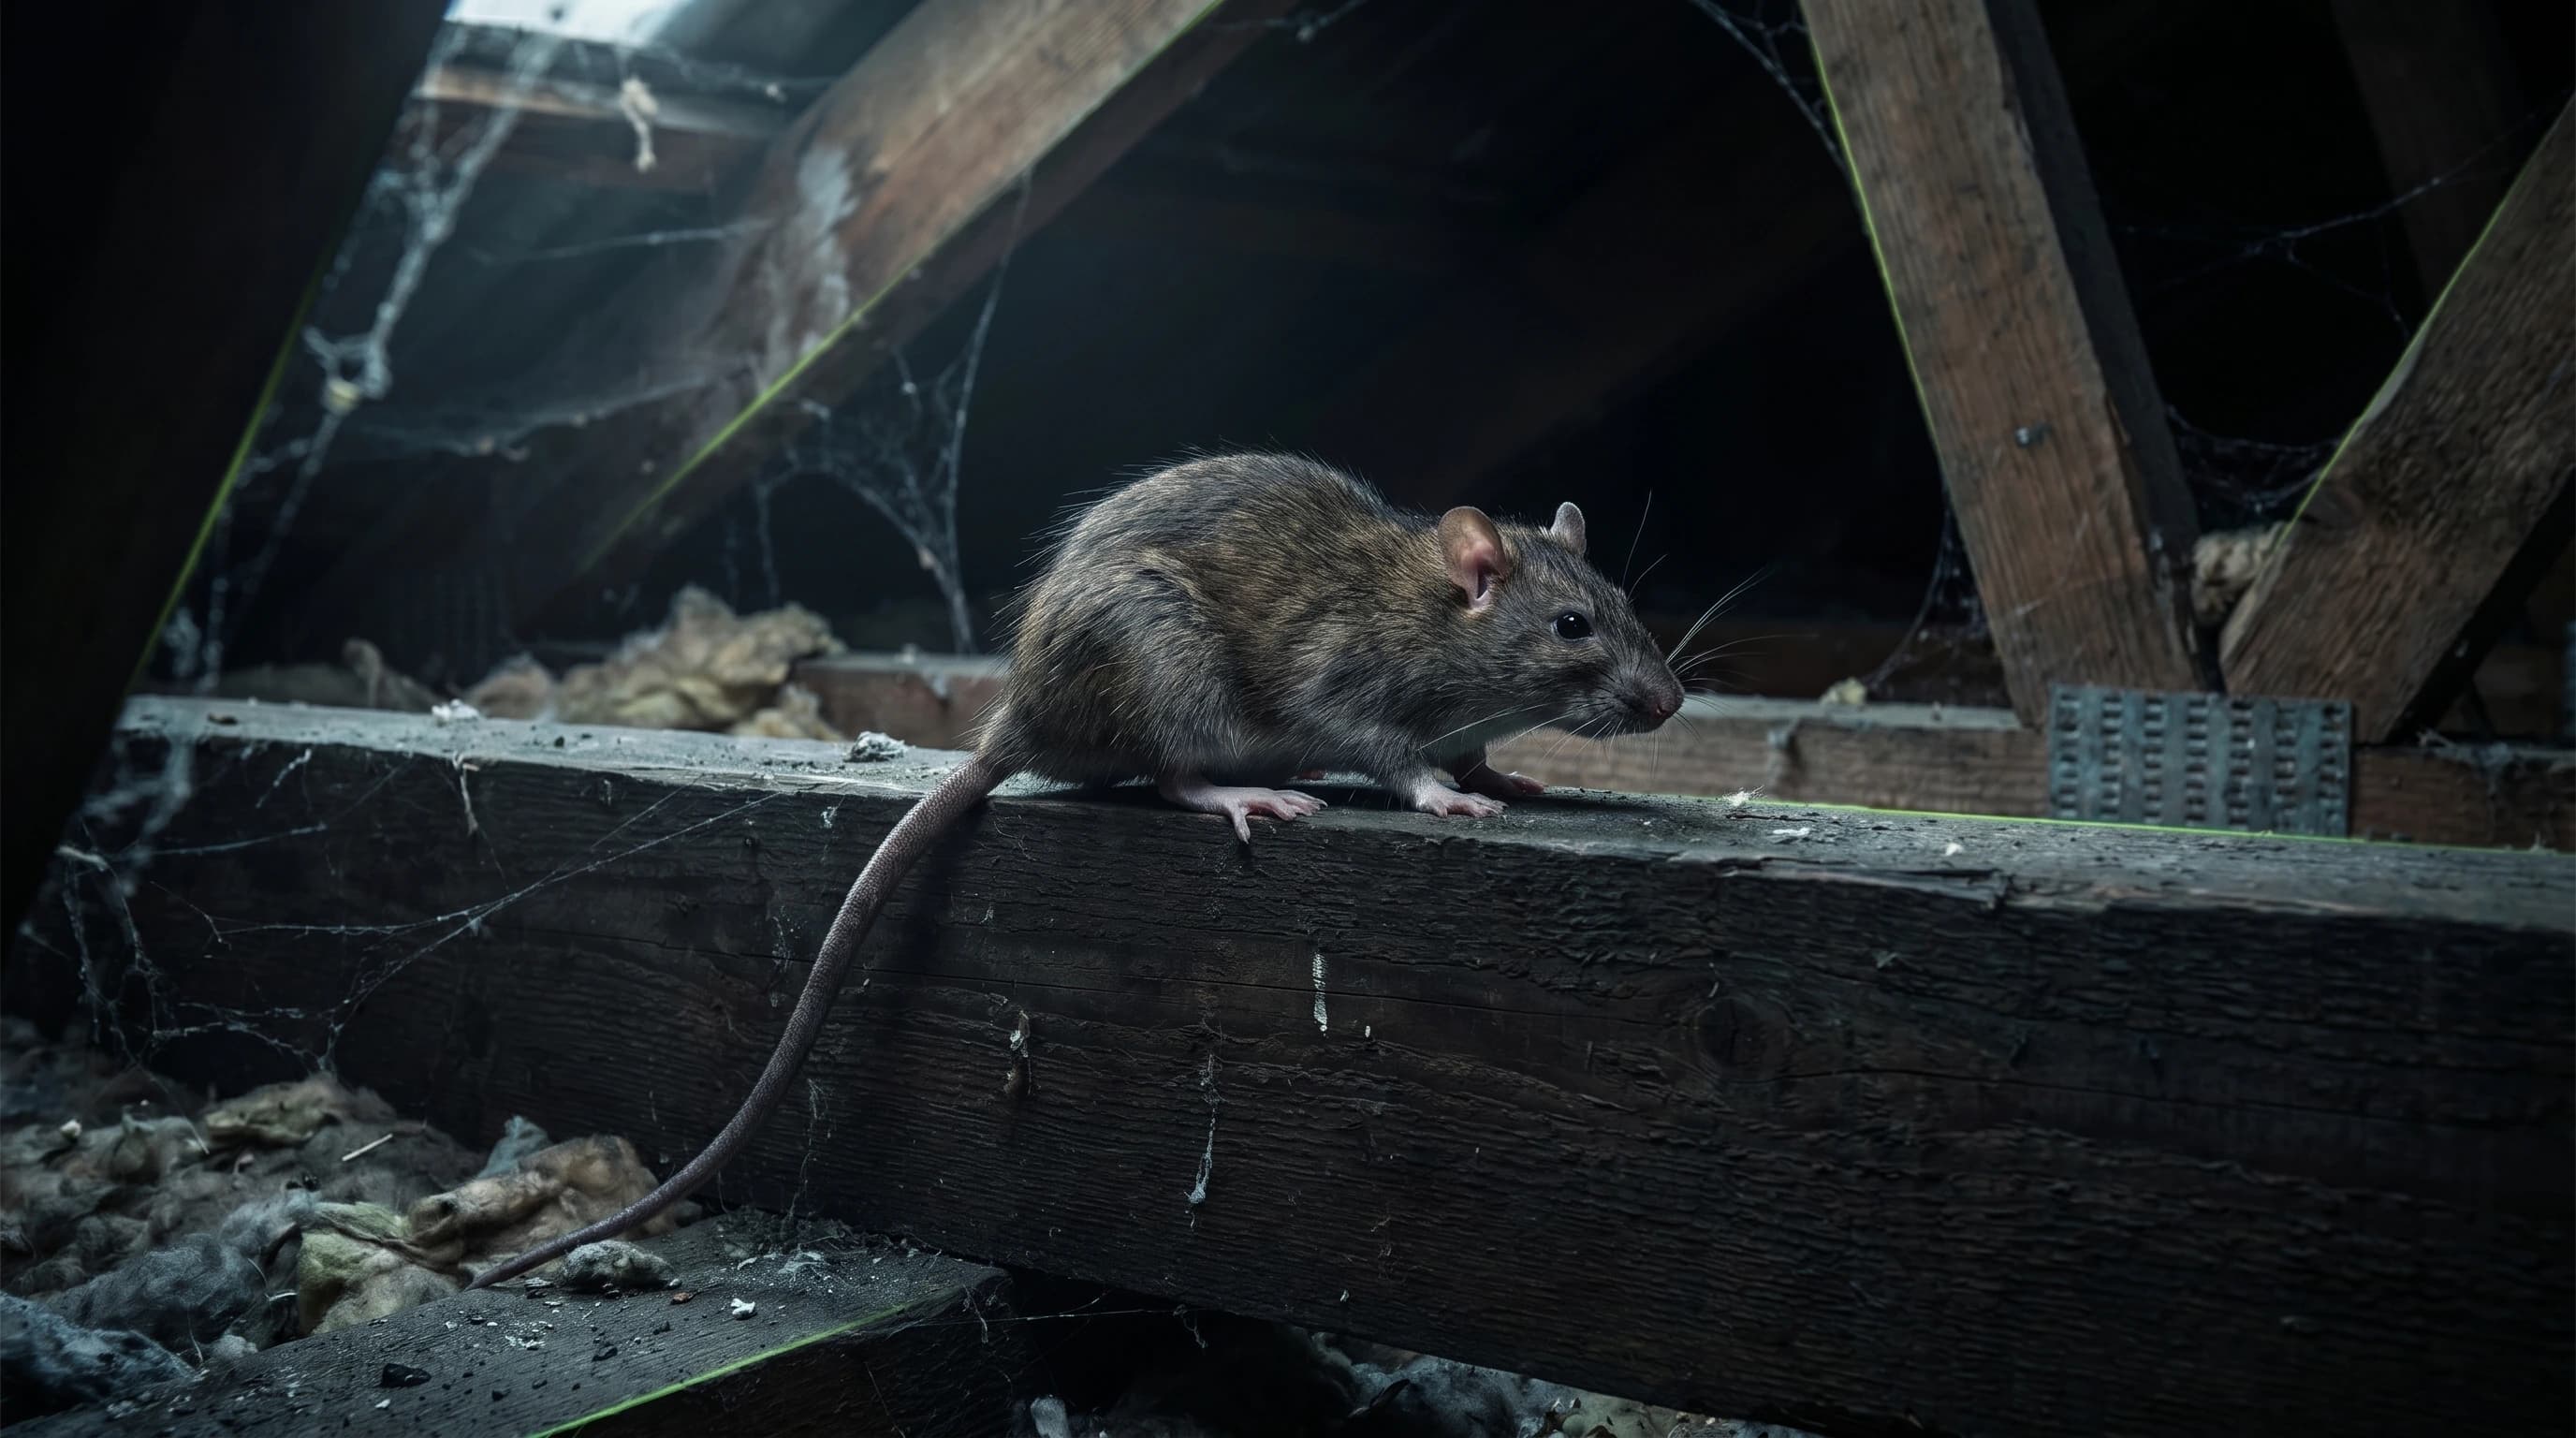
- Roof rat (Rattus rattus). The most common roof-dwelling rat in Australia. 16–22 cm body, long thin tail longer than the body, pointed snout. Excellent climber. Builds nests in roof voids, wall cavities, and trees near houses. Active mostly at night.
- Norway rat (Rattus norvegicus). 22–25 cm body, shorter tail, blunter snout. Heavier-set. Prefers ground level: burrows under decks, sheds, sub-floors. Less common in roofs but does happen.
- House mouse (Mus musculus). 7–9 cm body, very small. Can fit through a gap as small as 8 mm. Often mistaken for baby rats. Lighter scratching, smaller droppings. Numbers build up very fast.
Signs of activity
- Scratching at night. Most active between roughly 9pm and 4am. Heavy thumping is more likely possums or birds; scrabbling and skittering is rats or mice.
- Droppings. Rat droppings are 1–2 cm long, dark, capsule-shaped. Mouse droppings are 3–6 mm, like grains of rice. Concentrated in corners or along walls.
- Gnaw marks. On timber framing, electrical cable insulation, plastic pipework, stored items. Fresh gnaws are pale; older ones darken.
- Urine smell. Ammonia-like, strongest in confined ceiling cavities. If you notice it on a warm day, the population is established.
- Smears. Greasy dark marks on rafters or wall studs along repeatedly-travelled paths: rats leave oil from their fur.
- Nests. Shredded insulation, paper, or fabric balled up in a corner. Often the first thing an electrician notices when investigating a wiring fault.
Why it matters
Roof rats and mice aren’t just unpleasant. They cause real damage and real risk:
- Electrical fire risk. Rodents chew cable insulation, and chewed wiring in a roof void is a fire risk.
- Disease. Leptospirosis (from urine in dust), salmonella, and a handful of less common zoonoses. Risk goes up if your roof void connects to ducted air or insulation that contacts living areas.
- Structural damage. Less dramatic than termites but rodents gradually chew through soft timber framing and torn-up insulation reduces your R-value.
- Population growth. Numbers build up fast. By the time you hear them, there are usually more than you think.
The three-part fix
1. Identify entry points
Walk the outside of the building with someone holding a torch from inside the roof void. You’re looking for:
- Gaps where the roof meets the wall (especially Colorbond + brick junctions)
- Damaged or missing tiles, broken ridge capping
- Eaves with broken or unscreened vents
- Penetrations around plumbing, conduit, antenna mounts, evaporative cooler ducts
- Tree branches that touch or overhang the roof (roof rats use them as bridges)
- Garage roller-door seals
Remember: mice fit through gaps as small as 8 mm, and rats need only a little more. Finding every entry point is the hardest part of DIY.
2. Bait and trap the existing population
Bait stations + snap traps work together. Bait alone leaves dead rodents in cavities (the source of the worst smell). Traps alone won’t catch all of them. A professional combines both:
- Tamper-resistant bait stations placed in the roof void and around the exterior. In 2026 the national pesticide regulator (the APVMA) restricted the strongest rat baits, so what a pro can lay, and where, depends on the current product label. Baits take several days to work.
- Snap traps on visible travel paths. Quick kill, no decomposition-in-cavity issue.
- Bait re-check at 2–3 weeks. Bait that’s being consumed = the program is working. Untouched bait = wrong location.
Don’t use rodenticide bait blocks freely inside the roof void, and follow the label. Pets, kids, and non-target wildlife can find them. Bait stations exist for a reason.
3. Seal the entry points
Only seal AFTER the population is gone. Sealing first traps live rodents inside and forces them to chew new exits, usually downwards into your living area. Sequence matters.
Sealing materials:
- Steel wool packed into gaps, secured with caulk
- Hardware cloth (galvanised wire mesh, 6 mm) for vent openings
- Aluminium flashing for larger gaps and damaged eaves
- Expanding foam is fine as filler but never as the only barrier: rodents chew through it
When to call a pro
You can handle it yourself if:
- You’ve heard scratching for less than a week
- You can comfortably get into the roof void to set traps and stations
- You’re happy to remove dead rodents yourself (wear gloves). If you hire a pro, ask whether removing dead rodents is included.
- Your roof structure is simple enough to walk the perimeter and find entries
Call a pro if:
- It’s been 2+ weeks of activity, or activity has come back after DIY
- You hear movement during the day (suggests a bigger population)
- You’ve found chewed electrical cable
- You can’t safely access the roof void
- You’re in a rental and the landlord needs documentation for treatment
- You have multiple buildings or commercial premises
Cost expectations
A pro rodent treatment is typically $160–$400 for an initial visit (inspection + bait stations + snap traps + entry-point recommendations). A follow-up at 2–3 weeks to check bait take and remove dead rodents is often included. Sealing work is sometimes included in the initial price or quoted separately depending on scope.
For full price benchmarks across pest types, see our pest control cost guide.