Termite treatment options: chemical barrier, baiting system, reticulation
The three main termite-management approaches in Australia compared on cost, effectiveness, warranty, and disruption to your home.
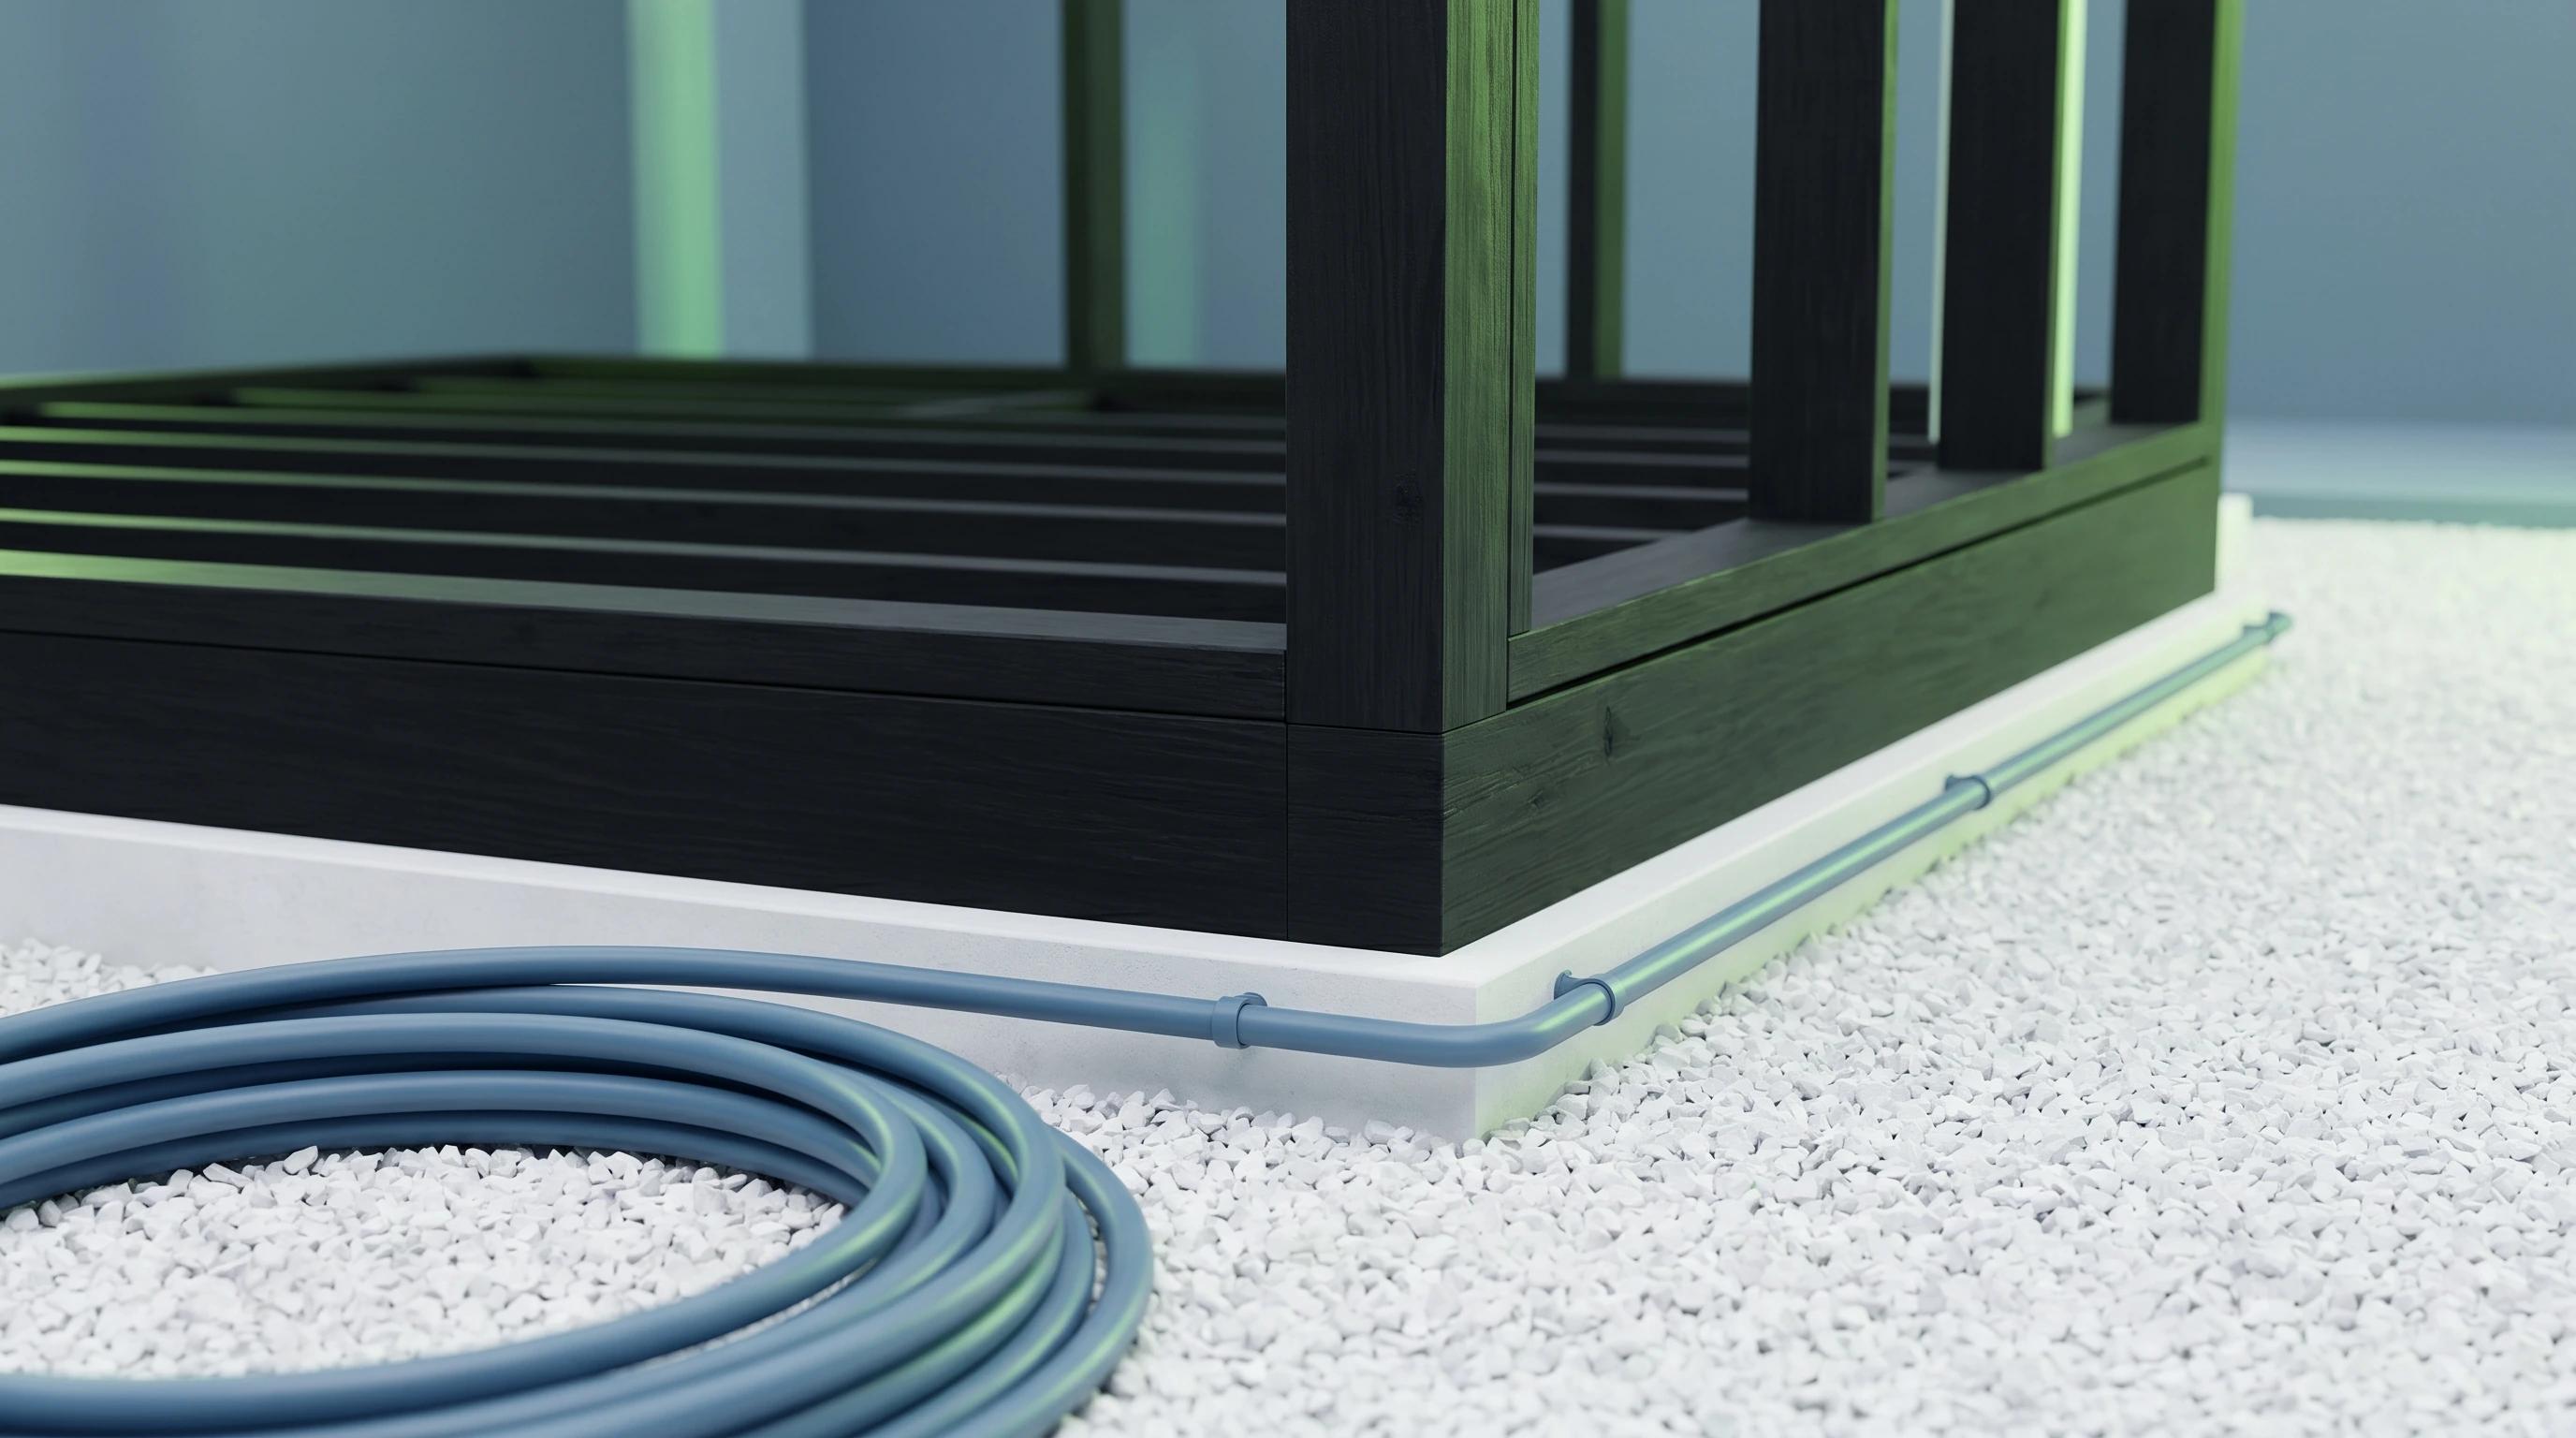
Three common approaches for an existing home
For an existing house in Australia with an active termite problem or a need for preventive protection, you have three common categories of treatment. Each has different mechanics, cost, disruption, and warranty profile. New builds can also use physical barriers (stainless steel mesh, graded stone, treated membranes); see our guide to pest control for a new build.
1. Chemical soil barrier (full chemical treatment)
The most common “termite treatment” people picture. A liquid termiticide (typically fipronil, bifenthrin, or imidacloprid) is applied as a continuous treated soil zone around the perimeter of the building. Subterranean termites passing through the zone either die or carry the chemical back to the colony, which then collapses.
How it’s installed:
- Soil around the foundation perimeter is trenched (~150–300 mm wide) and treated
- Under concrete paths/driveways adjacent to the building: cores are drilled at intervals (~250 mm) and chemical injected into the soil beneath
- Internal slab penetrations (pipes, conduits, plumbing chase boxes) are drilled and treated
Cost: $1,500–$5,000 for a typical Australian house. More for complex builds or extensive paving.
Warranty: set by the installer and the product, so get the term in writing. Annual re-inspection is usually a condition of it.
Pros: immediate kill mechanism, high effectiveness, broad coverage.
Cons: significant chemical use, requires drilling through concrete in many cases, disruptive install (1–2 days). Some chemicals can degrade in certain soil types over time.
2. In-ground baiting system
Tamper-resistant bait stations are buried in the ground around the building perimeter at ~3-metre intervals. Stations initially contain timber to attract termites; once activity is detected, the timber is replaced with a chitin-inhibitor bait. Foraging termites carry the bait back to the colony where it prevents new workers from moulting properly. The colony dies out over weeks/months.
How it’s installed:
- 10–25 bait stations buried around the house perimeter
- Monitoring inspections every 2–3 months for the first year, then quarterly
- When activity detected, bait cartridge inserted; pro monitors until colony eliminated
Cost: $1,850–$4,000 install + $300–$800/year ongoing monitoring (the monitoring is non-optional: without it the system can’t respond to activity).
Warranty: annually renewed; provider warrants against new activity for as long as monitoring continues. Some providers offer damage warranties with ongoing monitoring contracts. Terms vary, so get them in writing.
Pros: very low chemical use (bait only deployed when activity is found), eliminates colonies entirely (baiting is built to reach the whole colony), minimal install disruption (no drilling).
Cons: doesn’t actively prevent termites entering the structure. Relies on detecting them at the stations first. Higher ongoing cost. Less suitable for properties with very high termite pressure where you want immediate prevention.
3. Reticulation system (pre-installed pipework for re-treatment)
A network of small perforated pipes is installed in the soil around the building during construction or major renovation. Chemical termiticide is later flushed through the pipes from access points, effectively recreating a chemical zone without trenching the soil. The pipes stay in place; how often the chemical is refreshed depends on the product, so ask your installer.
Best for: new builds (where pipes are easy to install before paving/landscaping), large or complex sites, properties in high-risk areas where chemical zones need refreshing periodically.
Cost: quoted on the build, plus a chemical refresh every so often.
Warranty: usually runs from each chemical refresh; get the term in writing.
Pros: minimal disruption during refresh (no drilling), accurate placement of chemical, lower long-term cost than repeated full treatments.
Cons: install cost is significant. Best installed during construction; retrofit requires excavation.
How they compare
For a typical suburban Australian house:
- Upfront cost: baiting usually lowest, chemical in the middle, reticulation usually highest.
- 10-year total cost: baiting usually costs the most over ten years because of the yearly monitoring. Chemical stays lower even with a re-treatment, and reticulation depends on how often the zone is refreshed.
- Effectiveness against existing colonies: chemical immediate kill, baiting colony elimination over weeks, reticulation similar to chemical.
- Disruption to install: chemical moderate (drilling required), reticulation moderate to install around an existing home (trenching) but topping it up later needs no digging, baiting minimal.
- Ongoing maintenance: baiting requires regular monitoring, chemical/reticulation just annual inspections.
- Damage warranty available: warranty terms vary by provider and method, so get them in writing.
How to choose
Practical decision factors:
- Already have active termites: chemical treatment (fastest kill). Consider switching to baiting for ongoing prevention afterward.
- Preventive only, no current activity: baiting (lower chemical use, ecological).
- New build: reticulation installed before paving. Cheaper now than retrofitting later.
- Heritage building or solid masonry: chemical drilling can be problematic. Baiting avoids that.
- Want a damage warranty: ask providers what their baiting warranty covers. Get the terms in writing.
- Property bordering bushland or near a major termite source: chemical or reticulation for immediate-prevention coverage.
Related
See our signs of termites guide for what to look for, and the termite inspection guide for what an annual inspection covers.